Firebase Console 設定
本章目標為建立 Firebase Console 的專案。
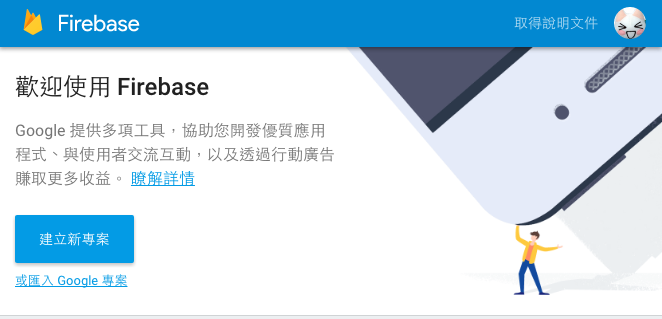
申請 Firebase 專案
- 連結到 https://console.firebase.google.com 使用 Google 帳號登入後。
按「建立新專案」
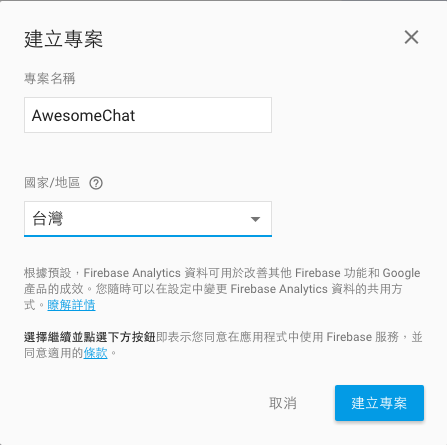
輸入「專案名稱」和選擇「公司所屬國家」後,按「建立專案」
設定 Android 程式
按「新增 Android 程式」 -> 「將 Firebase 加入您的 Android 應用程式」

設定 Android 程式
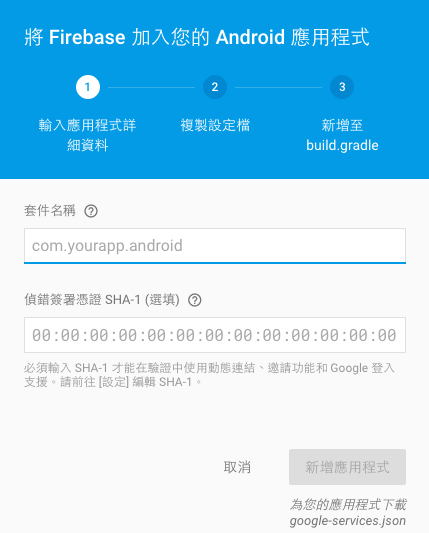
填入等等要建立的程式的 pakcage name,在這次練習中為了講解方便,為了避免出錯機會請統一填入
com.example.myawesomechat。打開 Terminal 貼上
keytool -exportcert -alias androiddebugkey -keystore ~/.android/debug.keystore -list -v -storepass android會看到部分,如圖:

找到憑證指紋的 SHA1 後面那段冒號隔開的貼進去後,按「新增」。
此時會自動下載一個
google-services.json檔案,等等馬上會用到。請記好位置。
此次課程特殊步驟
這一段為這次練習中使用,自己做的時候請不要做這一段。
google-services.json
為了 Demo 方便。 後面要用的 google-services.json 請使用此資料夾內的。 利用此檔案,會統一接到這次課程 Demo 用的專案,所以可以在使用者列表看到每個人。
{
  "project_info": {
    "project_number": "723003156558",
    "firebase_url": "https://awesomechat-3c29d.firebaseio.com",
    "project_id": "awesomechat-3c29d",
    "storage_bucket": "awesomechat-3c29d.appspot.com"
  },
  "client": [
    {
      "client_info": {
        "mobilesdk_app_id": "1:723003156558:android:ba15d7e2df834859",
        "android_client_info": {
          "package_name": "com.example.myawesomechat"
        }
      },
      "oauth_client": [
        {
          "client_id": "723003156558-st4gdqn6i27afhhbfp4krg58ecf4asj4.apps.googleusercontent.com",
          "client_type": 1,
          "android_info": {
            "package_name": "com.example.myawesomechat",
            "certificate_hash": "D3DAD3867218DA128BC171577F3EE11AD87D7A1D"
          }
        },
        {
          "client_id": "723003156558-05v69v9c6b7eb8cu5qmqiteisfu9guma.apps.googleusercontent.com",
          "client_type": 3
        }
      ],
      "api_key": [
        {
          "current_key": "AIzaSyC3Lz8aDW8JMnt3832EEcyKoUdDy-lEzVw"
        }
      ],
      "services": {
        "analytics_service": {
          "status": 1
        },
        "appinvite_service": {
          "status": 2,
          "other_platform_oauth_client": [
            {
              "client_id": "723003156558-05v69v9c6b7eb8cu5qmqiteisfu9guma.apps.googleusercontent.com",
              "client_type": 3
            }
          ]
        },
        "ads_service": {
          "status": 2
        }
      }
    }
  ],
  "configuration_version": "1"
}
sample-key-pwd-123456.keystore
為了此次課程 Demo 請將此資料夾內的這個檔案放到 app/ 下。
build.gradle (Module:app)
打開 build.gradle (Module:app) 加上以下這段在 android 內。
將我提供的這把 key 指定為 debug key,這個共用的 debug key 的 SHA1 值,我已經預先加到我建立好的 Firebase 專案下。
apply plugin: 'com.android.application'

android {
    ...

    //加上 signingConfigs 這段在 android {}內。
    signingConfigs {
        debug {
            keyAlias 'my-awesome-chat'
            keyPassword '123456'
            storeFile file('sample-key-pwd-123456.keystore')
            storePassword '123456'
        }
    }
}

dependencies {
    ...
}

apply plugin: 'com.google.gms.google-services'